
Golf cart seats can make an otherwise well-kept cart look years older once the vinyl starts cracking, fading, or separating around the edges. The good news is that worn upholstery does not always mean the entire seat needs replacing. If the foam and seat base are still in good condition, learning how to recover golf cart seats can restore their appearance for considerably less than buying complete replacement assemblies. The job mainly involves removing the existing cover, inspecting the materials underneath, fitting new marine-grade vinyl, and securing it with even tension. Careful preparation matters because rushed upholstery work often leads to wrinkles, loose corners, or premature tearing.
Decide Whether The Seat Is Worth Recovering
Before buying vinyl or removing staples, inspect the complete seat assembly. Small cracks, faded upholstery, worn seams, and minor surface damage are usually good reasons to recover a seat. The project becomes less practical when the underlying foam is badly deteriorated, the seat base is broken, or moisture has caused extensive structural damage. Press firmly across several areas of the cushion and compare how quickly the foam returns to shape. Uneven or permanently compressed areas may need new foam before the upholstery goes on. Also inspect mounting points and hardware underneath the seat. Recovering damaged upholstery while ignoring a weakened base may improve appearance temporarily, but it will not solve the underlying problem.
Choose Upholstery That Can Handle Outdoor Use
The material you choose has a major influence on how long the finished job lasts. When learning how to recover golf cart seats, look for vinyl designed to handle outdoor exposure rather than ordinary indoor upholstery. Golf cart seats regularly face sunlight, moisture, temperature changes, dirt, and repeated use. Official California state vinyl seating specifications highlight performance factors such as heavy-duty abrasion resistance, outdoor light resistance, mildew resistance, and cleanability. These are useful qualities to consider when selecting durable vinyl for a golf cart seat.
Gather The Right Tools Before Removing Anything
A golf cart seat recovery becomes much easier when everything is ready before disassembly. Most projects require replacement vinyl, a staple remover or flat screwdriver, pliers, scissors or a sharp utility knife, a heavy-duty staple gun, suitable staples, and basic hand tools for removing the seat assembly. A heat gun or hair dryer can sometimes make vinyl easier to stretch around corners, but excessive heat can damage the material.
Take several photographs of the underside before removing the original cover. These pictures provide a useful reference for staple locations, folds, seams, and corner treatment. Keep removed bolts and hardware together so nothing disappears during the project.
Remove The Seat From The Golf Cart
Trying to upholster a seat while it remains attached to the cart makes it difficult to create consistent tension. Remove the seat assembly according to the cart’s design and place it upside down on a clean, stable work surface. Protect painted or finished areas from scratches while working.
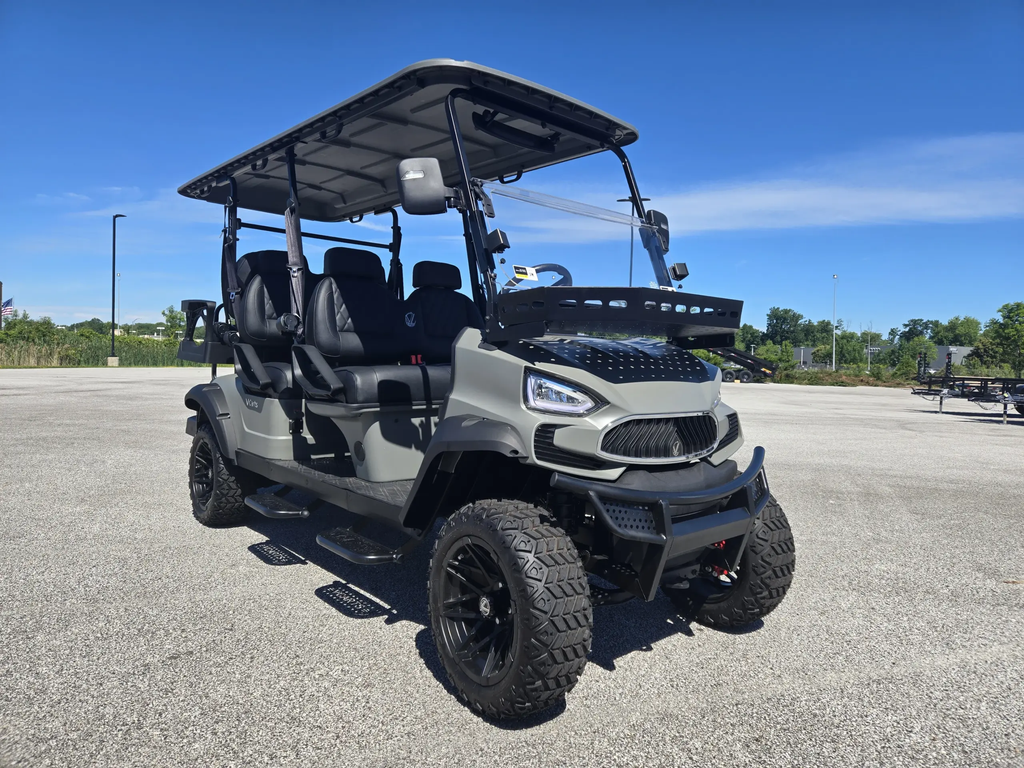
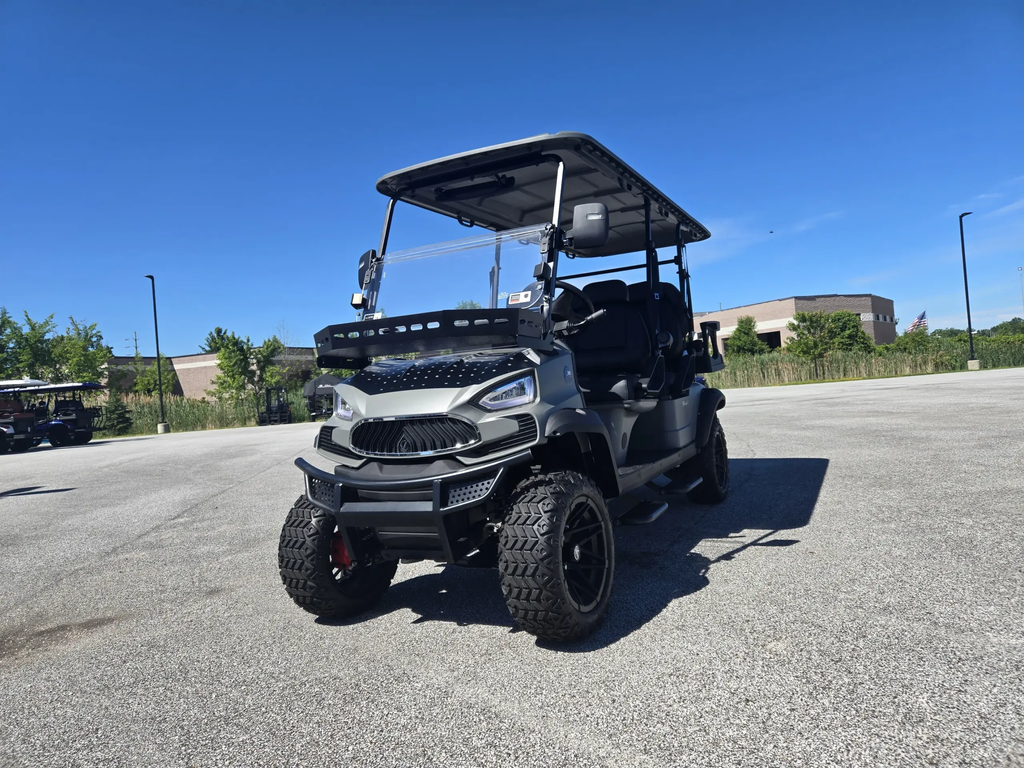
Seat construction also varies between golf carts, especially as passenger configurations and styling become more elaborate. A six-passenger model such as the VCart Limo 6 illustrates why owners should inspect each seating position individually rather than assuming every cushion or mounting arrangement is identical. Photographing the original setup before disassembly makes reinstallation much easier.
Remove The Old Vinyl Carefully
Turn the cushion over and begin removing the staples holding the existing upholstery to the seat base. Work gradually around the perimeter instead of pulling the vinyl aggressively. Pliers can help remove staples that break or remain partially embedded. Keeping the old cover intact is useful because it can serve as a rough pattern when cutting the replacement material.
Once the cover is removed, inspect the foam for moisture, mold, crumbling, deep compression, or tears. Allow damp foam to dry completely before covering it again. Installing fresh vinyl over trapped moisture can create odor and deterioration underneath a seat that looks perfectly restored from the outside.
Inspect And Repair The Foam Before Recovering
Minor foam imperfections can sometimes be repaired without replacing the entire cushion. Small damaged areas may be filled with compatible upholstery foam and carefully shaped to match the surrounding surface. Severely compressed or deteriorated foam should usually be replaced because new upholstery will follow the shape underneath it. If the cushion is uneven before recovering, it will remain uneven afterward.
This is also the right time to inspect the seat base for cracks, corrosion, loose fasteners, or damaged mounting points. Completing these repairs now prevents having to remove freshly installed upholstery later.
Use The Original Cover As A Cutting Guide
Lay the old vinyl flat over the new material and use it as a general template. Leave adequate excess material around the edges because the new cover needs enough overlap to wrap underneath the cushion and accept staples securely. Cutting too close is one of the easiest mistakes to make and may leave too little material to create proper tension.
When dealing with shaped cushions, mark the center points of both the vinyl and seat. Those reference marks help keep the material aligned while stretching and stapling. Do not permanently secure one entire side before confirming that the cover remains centered.
Stretch The Vinyl Evenly Instead Of Pulling One Side Tight
The key to learning how to recover golf cart seats neatly is controlling tension. Begin with a few temporary staples near the center of opposite sides. Move to the other two sides and repeat the process. Then work gradually outward toward the corners, alternating sides as you go. This distributes tension across the cushion instead of pulling the cover heavily in one direction.
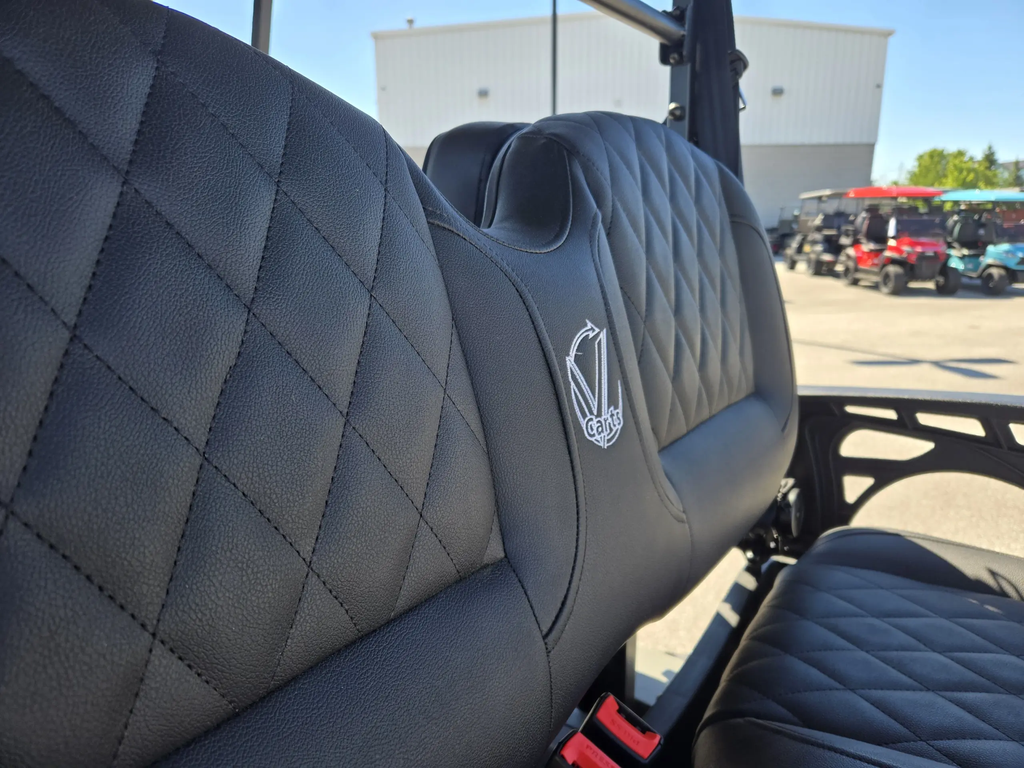
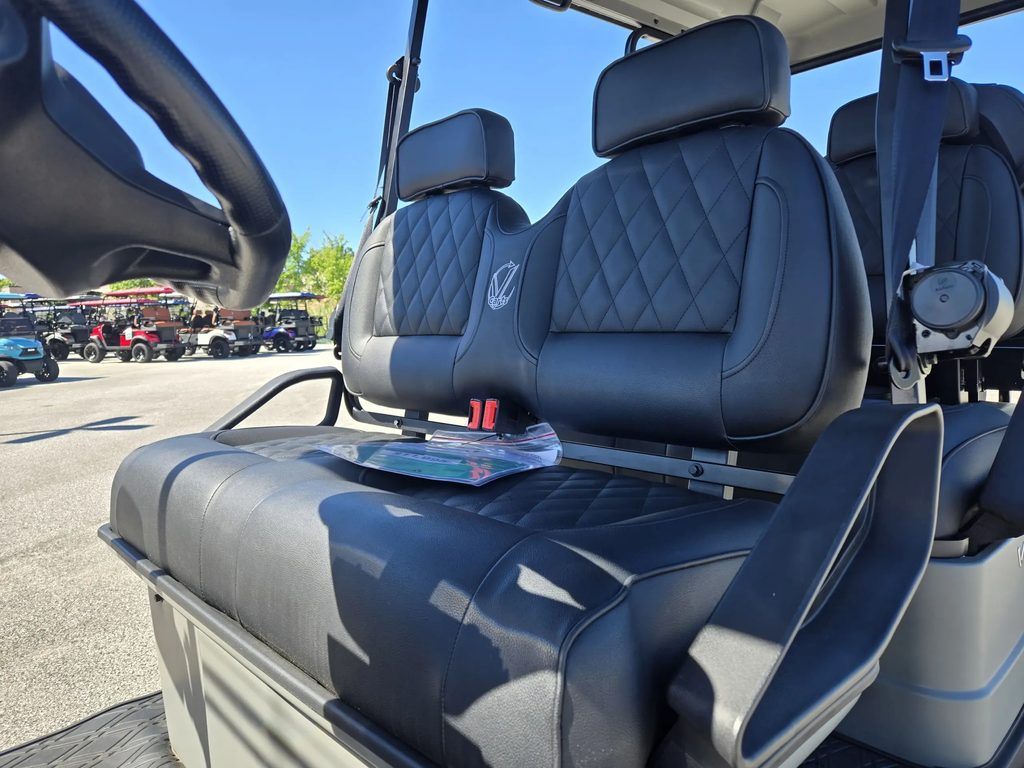
Modern carts with sculpted or upgraded seating, such as the VCart Lift 4, also show why careful alignment matters when working around contours and edges. Regardless of seat style, stop periodically and inspect the visible surface before adding more staples. Correcting a wrinkle early is much easier than removing dozens of staples later.
Handle Corners Slowly To Avoid Wrinkles
Corners are usually the most difficult part of recovering golf cart seats. Instead of creating one large fold, work the excess vinyl into several smaller folds underneath the cushion where they will not be visible. Pull the material firmly enough to remove wrinkles from the seating surface, but avoid stretching it so aggressively that the vinyl becomes thin around the edges. Gentle warmth can make stiff vinyl easier to shape, especially in a cool garage. Keep the heat source moving and use only enough warmth to make the material flexible. Before permanently stapling each corner, turn the cushion over and check that the visible edge looks smooth.
Finish Stapling And Trim The Excess Material
Once the surface looks smooth and properly aligned, continue stapling around the underside of the seat. Keep staple spacing reasonably consistent and make sure every staple sits firmly against the seat base. Loose staples may allow the cover to shift after repeated use. Areas exposed to greater tension, particularly corners and curved edges, may need closer staple spacing.
After everything is secure, trim unnecessary vinyl from underneath while leaving enough material beyond the staples to maintain a strong hold. Do not cut directly beside the staple line. Check for sharp staple ends or loose hardware before reinstalling the cushion.
Reinstall The Seat And Check The Fit
Place the recovered seat back onto the golf cart and reinstall the original mounting hardware. Tighten the fasteners securely without overtightening components that mount into plastic or composite materials. Sit on different areas of the cushion and check whether the vinyl shifts, wrinkles, or pulls excessively around the edges.
Also make sure the seat opens, folds, or moves normally if the golf cart uses hinged seating. A cover that looks excellent on the workbench can still require adjustment if excess material interferes with hinges, latches, or mounting brackets.
Protect The Seats From Sun And Ohio Weather
Outdoor exposure can shorten the life of even good upholstery. Strong sunlight gradually fades vinyl, while repeated moisture exposure can encourage mildew around seams and underneath cushions. Northeast Ohio adds another challenge because golf carts may experience hot summers, rain, freezing temperatures, and long periods of winter storage.
Whenever possible, park the cart inside a garage or use a quality cover when it will remain outdoors. Dry wet seats rather than leaving moisture trapped beneath a cover. During winter storage, keeping the cart in a dry location helps protect not only the upholstery but also electrical connections, batteries, and other components.
Avoid Common Golf Cart Seat Recovery Mistakes
Several small mistakes can make a DIY upholstery job look unfinished. Cutting the replacement material too small leaves insufficient vinyl for proper tension. Pulling one side completely tight before securing the opposite side often creates wrinkles. Covering damaged or wet foam hides the problem instead of fixing it. Using ordinary lightweight staples can also lead to premature loosening.
Another common mistake is trying to eliminate every wrinkle by pulling harder. Excessive tension can distort seams and place unnecessary stress on the vinyl. A smoother result usually comes from repositioning the material and distributing tension evenly across the cushion.
Know When Professional Seat Repair Makes More Sense
Recovering golf cart seats is manageable for owners who have basic tools and patience, but not every seat is a good DIY candidate. Extensive foam deterioration, broken seat bases, complicated stitched designs, or severe structural damage can make professional repair more practical. An experienced technician can also inspect mounting hardware and other components while the seating is removed. If a seat problem extends beyond upholstery or you discover other issues during the project, the Mentor Golf Carts & Trailers Service Department can help determine the appropriate repair approach.
Conclusion
Learning how to recover golf cart seats can give worn upholstery a fresh appearance without replacing a complete seat assembly. The best results come from inspecting the foam first, choosing durable exterior-grade vinyl, preserving enough material around the edges, and stretching the cover evenly before stapling. Take extra time around corners because careful tension creates a much cleaner finish than simply pulling harder. Once recovered, regular cleaning, dry storage, and protection from prolonged sunlight can help the new upholstery last longer and keep the golf cart looking well maintained.