
As temperatures begin to drop, many RV owners start asking how to winterize a travel trailer properly. Freezing weather can cause serious damage to plumbing lines, water heaters, holding tanks, and seals if preparation is not done correctly. Even a small amount of trapped water can freeze, expand, and crack pipes or fittings, leading to costly repairs in the spring.
Understanding how to winterize a travel trailer protects your investment and ensures your camper is ready for the next season. Whether you store your trailer in Ohio, Florida during an unexpected cold snap, or any region with freezing temperatures, a thorough winterization process prevents water damage, mold growth, and system failure. This guide walks through the full process step by step, covering plumbing protection, tank preparation, battery care, exterior sealing, and storage best practices.
Why Winterizing A Travel Trailer Is Important
Before explaining how to winterize a travel trailer, it helps to understand what happens when water freezes. Water expands as it turns to ice. In plumbing systems, this expansion creates pressure inside pipes and fittings. Even durable PEX lines can split under extreme conditions. Water heaters, faucets, and pump housings are particularly vulnerable. According to the U.S. Department of Energy, preventing frozen pipes is critical because even small cracks can release hundreds of gallons of water over time once thawed. The same principle applies inside travel trailers.
When To Winterize Your Travel Trailer
Many owners wait until the first freeze warning before learning how to winterize a travel trailer. Ideally, you should complete the process before nighttime temperatures consistently drop below 32 degrees Fahrenheit. If your trailer will sit unused for several weeks during cold weather, winterization is recommended even if temperatures only dip below freezing occasionally. Planning ahead prevents rushed preparation and reduces the chance of overlooking key steps.
Step One: Drain The Fresh Water System
The first major step in how to winterize a travel trailer is draining all water from the system. Start by turning off the water heater and allowing it to cool. Disconnect from any external water source. Open all faucets, including hot and cold sides, to relieve pressure. Next, locate the low point drain valves and open them. These drains allow water to exit the lowest parts of the plumbing lines. Flush the toilet to remove remaining water from the line. Do not forget outside showers if equipped.
Step Two: Drain And Bypass The Water Heater
Another critical part of how to winterize a travel trailer involves the water heater. Drain the tank completely by removing the drain plug or anode rod. Once empty, install a water heater bypass kit if your trailer has one. The bypass prevents antifreeze from filling the entire water heater tank, saving both time and antifreeze. Failing to bypass the heater can waste several gallons of antifreeze unnecessarily.
Step Three: Add RV Antifreeze To The Plumbing System
After draining water, the next step in how to winterize a travel trailer is protecting the plumbing lines with non toxic RV antifreeze. Never use automotive antifreeze. RV antifreeze is specifically formulated for potable water systems. Use a water pump converter kit or hand pump to introduce antifreeze into the system. Turn on each faucet individually until pink antifreeze flows through both hot and cold sides. Flush the toilet until antifreeze enters the bowl. Pour antifreeze into sink and shower drains to protect P-traps.
Step Four: Empty And Clean Holding Tanks
Proper waste tank maintenance is also part of how to winterize a travel trailer. Empty the black and gray water tanks completely at an approved dump station. Rinse tanks thoroughly to prevent odor buildup and residue hardening during storage. Once drained, add a small amount of RV antifreeze to each tank to protect termination valves from freezing.
Step Five: Disconnect And Protect The Battery
Cold weather affects batteries significantly. When learning how to winterize a travel trailer, do not overlook battery care. Remove the battery and store it in a cool but not freezing environment if possible. Keep it connected to a battery maintainer to prevent discharge. According to Battery University, extreme cold can reduce battery performance and increase discharge rates.
Step Six: Inspect And Seal Exterior Components
Exterior protection is another important part of how to winterize a travel trailer. Inspect roof seams, window seals, and vent covers for cracks or deterioration. Reseal any areas showing wear to prevent moisture intrusion during winter storms. Lubricate stabilizer jacks and hitch components to prevent corrosion. Cover external appliances and vents as recommended by the manufacturer.
Step Seven: Protect Tires During Storage
Travel trailer tires can develop flat spots if left stationary for long periods. Inflate tires to recommended pressure and consider using tire covers to protect against UV exposure. If possible, move the trailer slightly every few weeks to redistribute weight. Proper tire maintenance reduces the risk of dry rot and extends tire lifespan.
Winterization Checklist Overview
| Task | Purpose |
|---|---|
| Drain Fresh Water System | Remove standing water |
| Bypass Water Heater | Prevent antifreeze waste |
| Add RV Antifreeze | Protect plumbing lines |
| Empty Holding Tanks | Prevent valve freezing |
| Disconnect Battery | Prevent discharge damage |
| Inspect Seals | Prevent moisture intrusion |
| Inflate And Cover Tires | Protect rubber components |
This checklist summarizes the core steps involved in how to winterize a travel trailer safely and effectively.
Common Winterization Mistakes
One common mistake when learning how to winterize a travel trailer is forgetting outside showers or washing machine hookups. Another is failing to bypass the water heater before adding antifreeze. Leaving small amounts of water trapped in fittings can still cause damage. Skipping seal inspections can also allow snow melt or rain to enter during storage.
Planning Ahead For The Next Camping Season
Knowing how to winterize a travel trailer properly helps protect your investment, but long term ownership also means choosing equipment that fits your usage needs. Whether you use your trailer occasionally or for extended trips, understanding weight ratings, storage considerations, and seasonal preparation ensures better performance year after year.
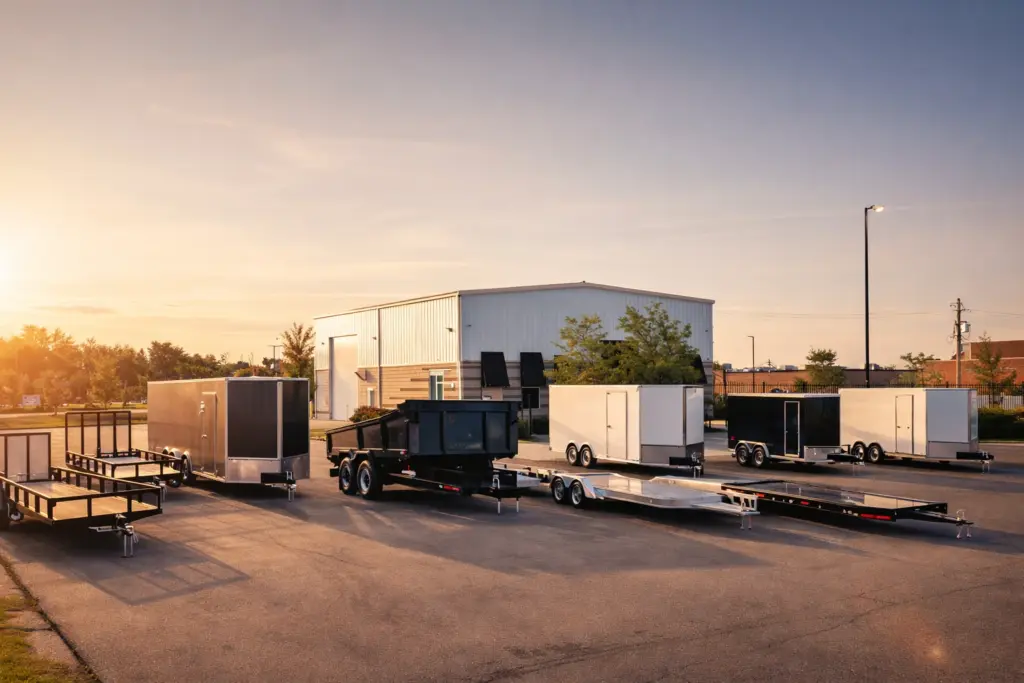
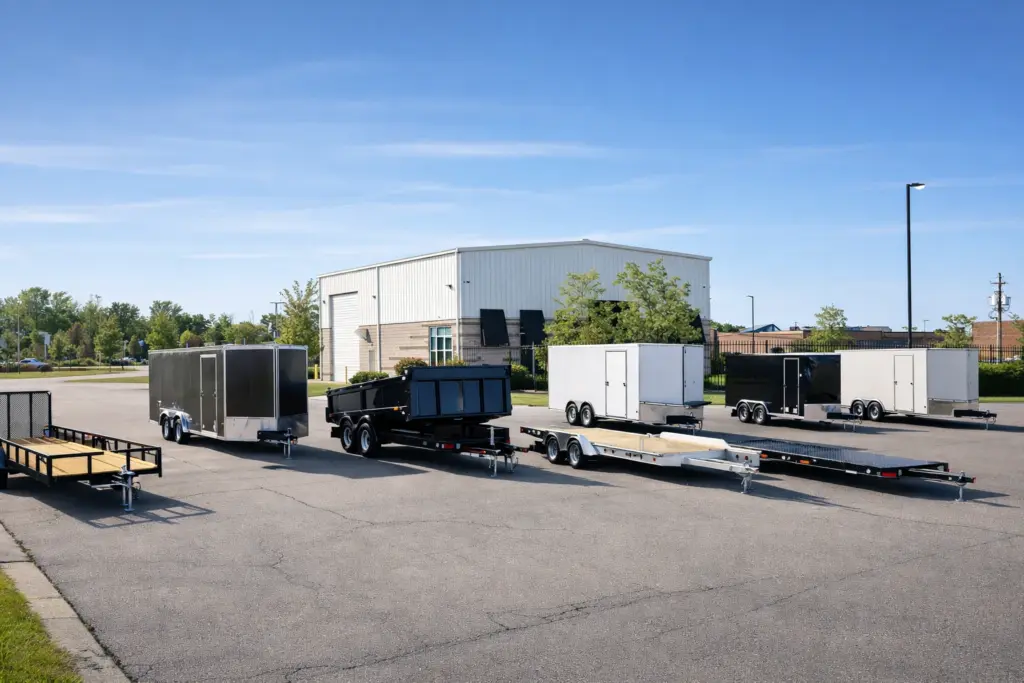
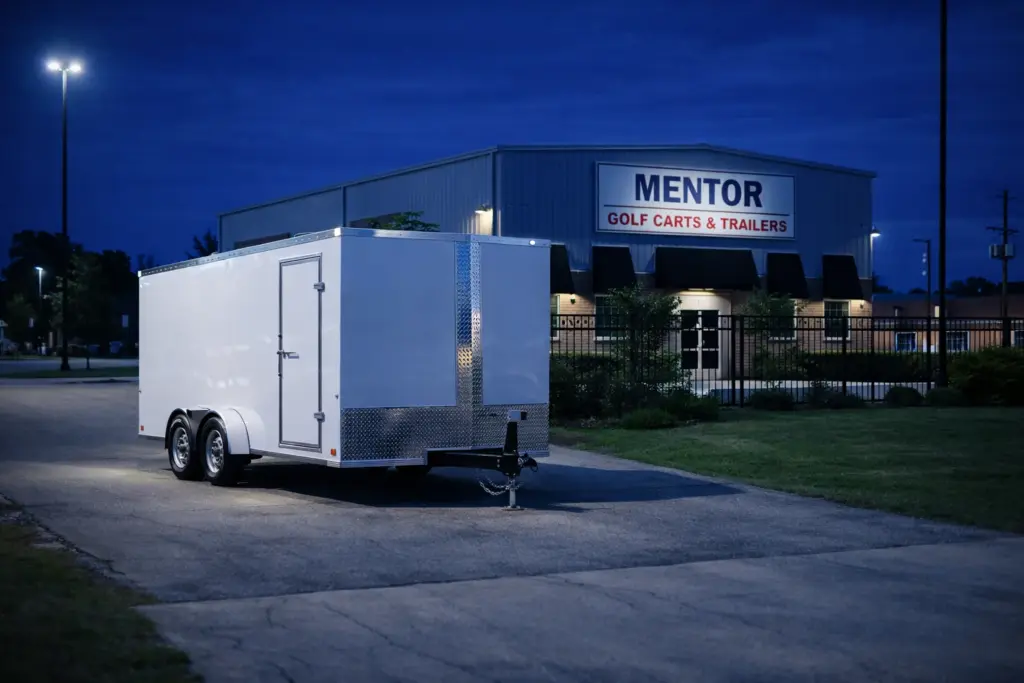
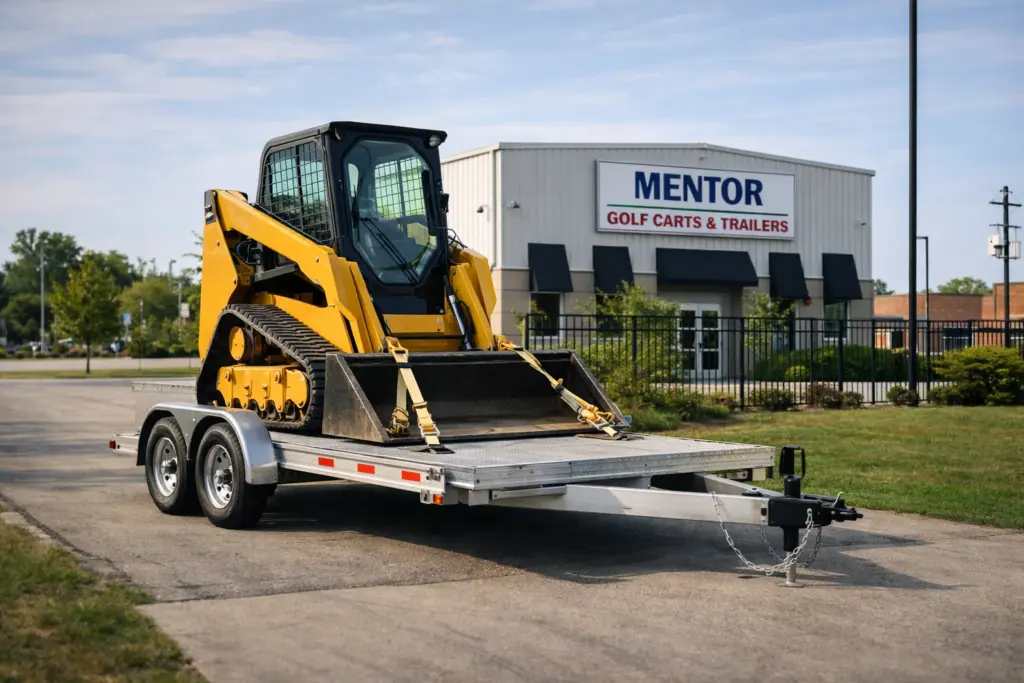
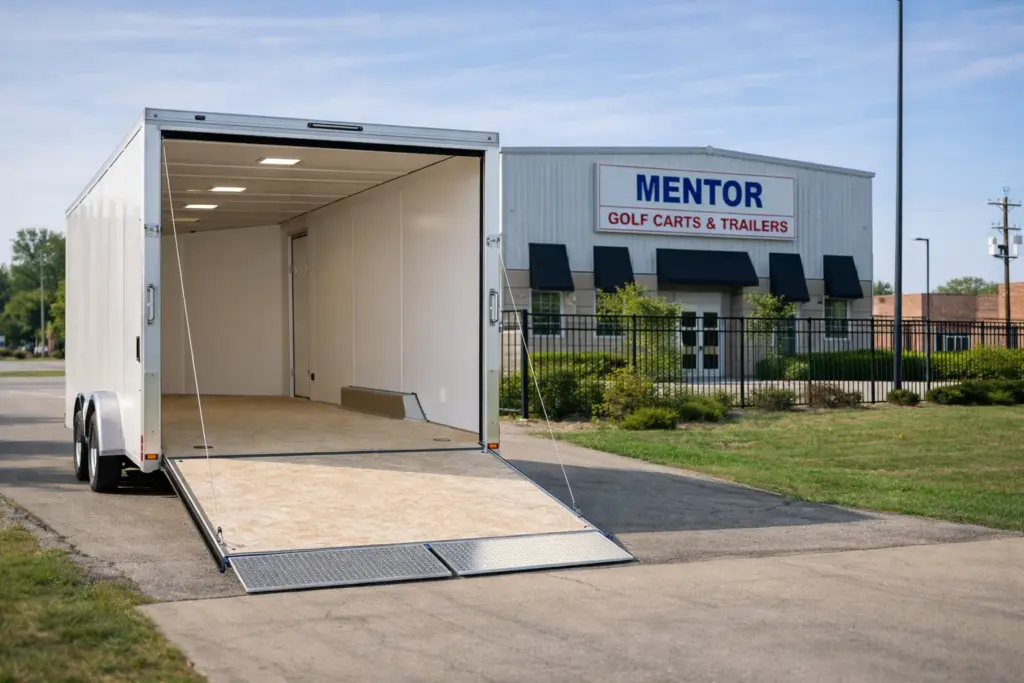
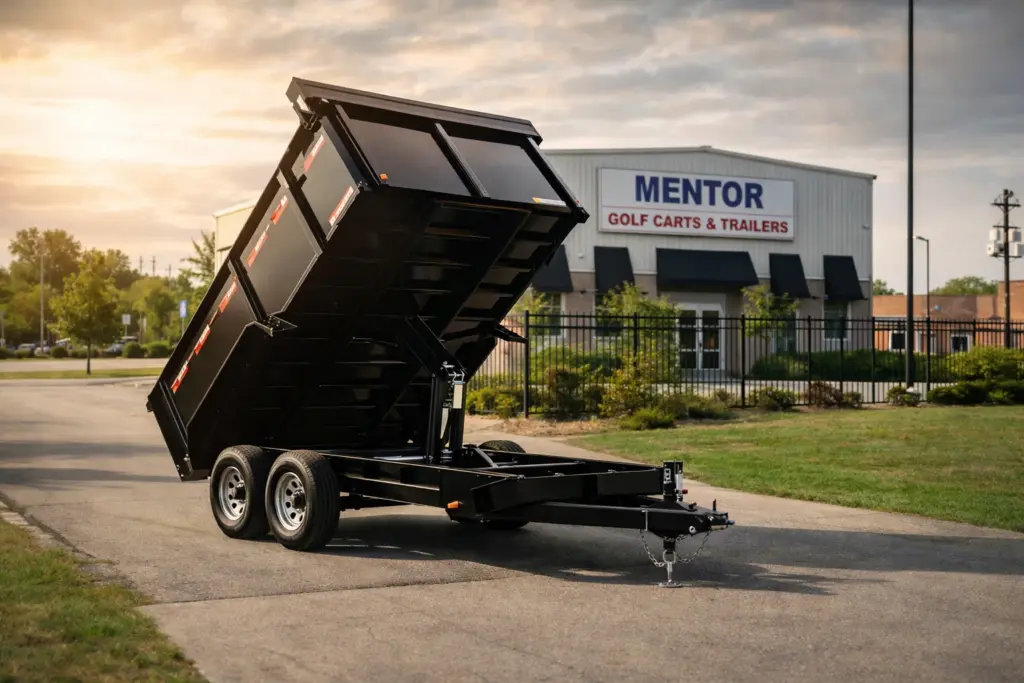
If you are exploring trailer options or comparing hauling solutions, you can review available inventory at Mentor Golf Carts and Trailers. We offers a selection of trailers along with premium golf carts, electric bikes, and scooters designed for recreational and practical use. Comparing current models allows you to select equipment that matches your lifestyle and seasonal plans.
Preparing For Spring Reopening
After completing the steps on how to winterize a travel trailer, reopening in the spring should be straightforward. Flush RV antifreeze from the plumbing system thoroughly, sanitize the fresh water tank before use, and inspect exterior seals prior to your first trip. Taking time to review each system carefully ensures your trailer is ready for the upcoming camping season.
Conclusion
Learning how to winterize a travel trailer protects plumbing systems, holding tanks, batteries, and exterior components from freezing damage. By draining water lines, adding RV antifreeze, maintaining the battery, sealing exterior surfaces, and protecting tires, you ensure your trailer remains in excellent condition during cold months. Taking the time to complete these steps thoroughly prevents costly repairs and prepares your trailer for reliable performance when camping season returns.