
A damaged roof can quickly turn a relaxing trip into a costly problem, which is why many owners want to know how to repair travel trailer roof issues before they get worse. Small cracks, leaks, or worn seals may not seem serious at first, but over time, they can lead to water damage, mold, and structural problems. The good news is that many roof issues can be repaired without professional help if you catch them early. Learning how to repair travel trailer roof damage allows you to protect your investment, extend the life of your trailer, and avoid expensive repairs down the road.

Common Signs Your Travel Trailer Roof Needs Repair
Before starting any repair, you need to recognize the warning signs. Understanding how to repair travel trailer roof problems begins with identifying damage early. Common signs include water stains on the ceiling, soft spots on the roof, cracked sealant around vents, or visible gaps along seams. Even small leaks can lead to bigger issues if ignored. Regular inspections help you catch these problems before they spread. It is a good idea to check your roof after heavy rain, long trips, or seasonal changes. Being proactive allows you to fix minor damage quickly instead of dealing with major repairs later.
Tools And Materials You Will Need
When preparing to learn how to repair travel trailer roof damage, having the right tools makes the process much easier. Most repairs require basic items such as a ladder, cleaning supplies, roof sealant, patch material, a caulking gun, and a soft brush. Depending on your roof type, you may also need a rubber roof cleaner or specialized repair tape. It is important to choose materials that match your trailer’s roof, whether it is rubber, fiberglass, or aluminum. Using the correct products ensures a proper seal and long-lasting results. Taking the time to gather everything before starting prevents delays and helps you complete the repair efficiently.
Cleaning The Roof Before Making Repairs
One of the most important steps in how to repair travel trailer roof issues is cleaning the surface properly. Dirt, debris, and old sealant can prevent new materials from sticking effectively. Start by sweeping off loose debris, then use a gentle cleaner designed for your roof type. Avoid harsh chemicals that could damage the surface. Once cleaned, allow the roof to dry completely before moving on to repairs. A clean surface ensures better adhesion and improves the durability of your repair. Skipping this step can lead to poor results and the need for additional work later.
Sealing Cracks And Small Leaks
For minor damage, sealing is often the simplest solution. Learning how to repair travel trailer roof cracks involves applying a high-quality sealant to the affected area. Use a caulking gun to apply sealant evenly over cracks, seams, and around fixtures such as vents and skylights. Smooth the sealant to ensure full coverage and prevent gaps. This creates a waterproof barrier that protects the roof from further damage. Small repairs like this can be completed quickly and are highly effective when done correctly. Regularly checking and resealing these areas helps maintain your roof’s condition over time.
Fixing Larger Damaged Areas With Patches
When damage is more severe, patching may be required. Understanding how to repair travel trailer roof sections with larger cracks or holes involves using patch kits or repair tape. Cut the patch material to cover the damaged area, then apply adhesive or sealant underneath before placing it on the roof. Press firmly to ensure it bonds properly. Some repairs may require multiple layers for added strength. This method provides a more durable fix compared to simple sealing. Taking your time during this step ensures that the repair holds up under different weather conditions.
Inspecting Roof Fixtures And Seams
Roof damage is not always limited to flat surfaces. When learning how to repair travel trailer roof issues, it is important to inspect areas around vents, air conditioning units, and seams. These spots are more likely to develop leaks due to movement and exposure. Check for loose or cracked sealant and reapply as needed. Tightening fixtures and ensuring proper sealing prevent water from entering through vulnerable points. Regular inspection of these areas helps you stay ahead of potential problems and keeps your roof in good condition.
Quick Travel Trailer Roof Maintenance Checklist
- Inspect roof seams every few months
- Check sealant around vents and skylights
- Clean debris after long trips
- Repair small cracks immediately
- Inspect roof after heavy storms
- Store trailer under cover when possible
Improving Your Travel Setup While Maintaining Your Trailer
While working on maintenance, many owners also look for ways to improve their overall travel experience. Understanding how to repair travel trailer roof damage is just one part of keeping your setup efficient. Having a well-maintained trailer combined with convenient transportation improves both comfort and efficiency. Small upgrades alongside proper maintenance can make a noticeable difference in how enjoyable your trips feel.
Preventive Maintenance To Avoid Future Roof Damage
The best way to handle roof issues is to prevent them from happening in the first place. Once you understand how to repair travel trailer roof problems, it becomes clear that regular maintenance is essential. Cleaning your roof, inspecting seals, and addressing minor issues early can save time and money. Covering your trailer during long periods of storage also helps protect it from weather exposure. Preventive care reduces the chances of major damage and keeps your trailer in better condition overall. Consistent maintenance is key to long-term reliability.
Choosing Reliable Support For Your Travel Needs
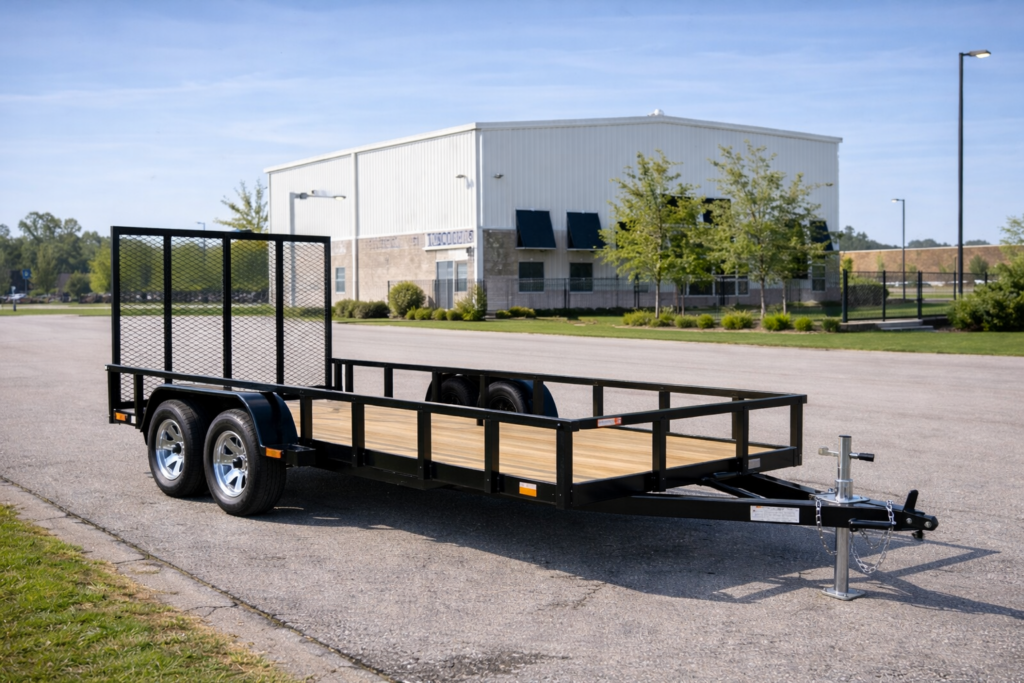
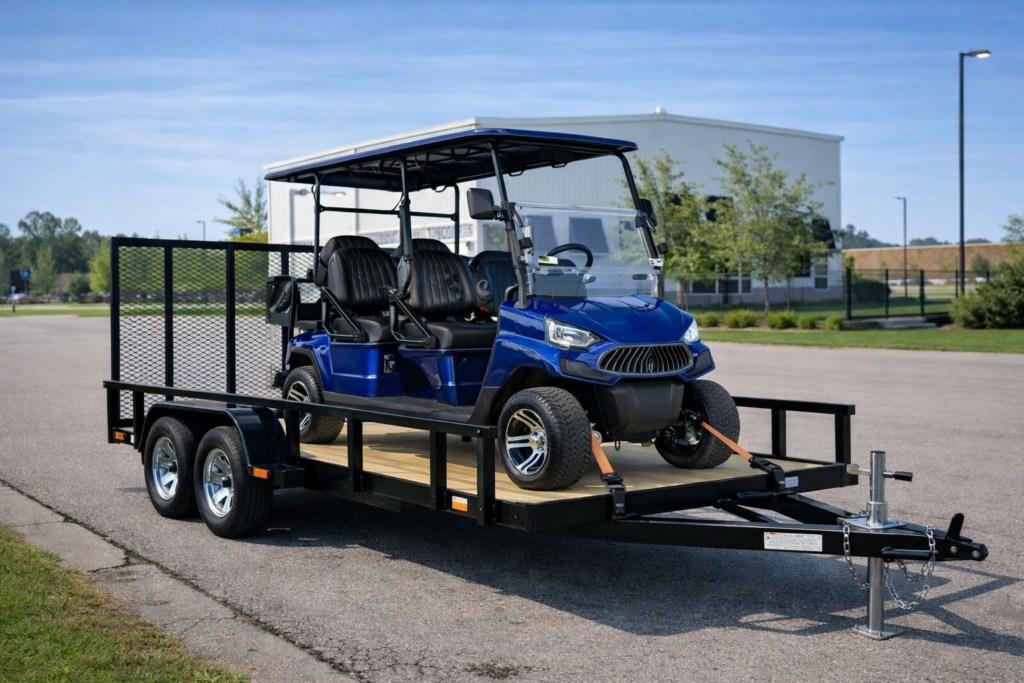
Maintaining your trailer is important, but having the right support for your travel setup also matters. As you learn how to repair travel trailer roof issues, you may also consider improving your overall equipment and mobility. Explore our In-Stock Trailers option to provide a convenient solution for moving around larger campsites or travel areas. Combining proper maintenance with reliable equipment helps you enjoy your trips without unnecessary stress. A well-prepared setup ensures that you can focus on your journey rather than dealing with unexpected issues.
What Experts Recommend For Roof Maintenance
Industry experts recommend regular inspections and proper sealing to maintain roof integrity. According to guidance from the Federal Emergency Management Agency, keeping structures sealed and protected from water intrusion is essential to prevent long-term damage source. Applying these principles to your trailer helps you maintain a strong and leak-free roof. Understanding how to repair travel trailer roof damage and following expert advice ensures that your trailer remains safe and reliable for years to come.
Conclusion
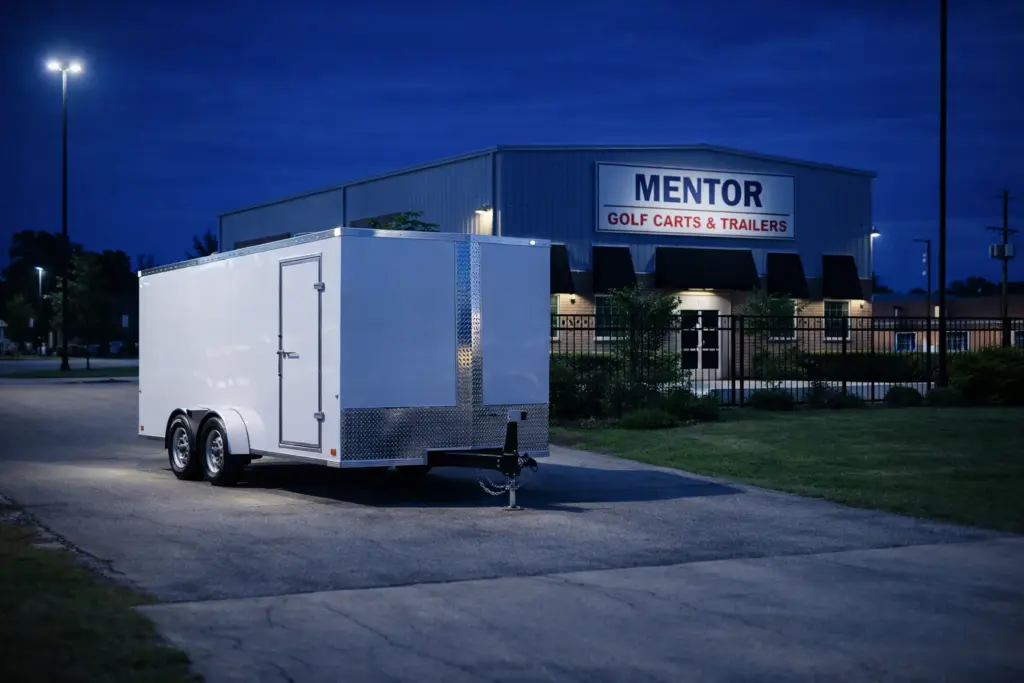
Once you understand how to repair travel trailer roof problems, it becomes much easier to protect your investment and enjoy worry-free travel. Addressing small cracks, sealing leaks, and maintaining your roof regularly can prevent major damage and costly repairs. Taking a proactive approach ensures that your trailer stays in good condition, ready for every trip. Travelers who want dependable solutions and support often explore options through Mentor Golf Carts and Trailers, where quality equipment and guidance help enhance the overall travel experience. With proper care and attention, your travel trailer can remain reliable and comfortable for years to come.